Lamina
Lamina Manual — Shortcuts and How It Works
Manual
Everything Lamina does, and the keys that get you there.
The idea in one paragraph
Lamina puts an image on top of your screen as a transparent sheet. Not in a window next to your work — over it. You line the sheet up with what you have built, look through it, and measure where the two drift apart. Then you lock the sheet and keep working underneath it as if it weren't there.
Drop an image here
⌘V to paste your image ∙ S to take a screenshot
Lamina overlays your design on the build, so you can compare both pixel by pixel.
1. Put a sheet on the screen
Press S and drag a box around any part of your screen. What you capture becomes the sheet immediately.
Drag an image into the window, or press ⌘V to paste one.
Screenshots taken on a Retina display normally come back twice the size of what they show. Lamina knows both sizes when it captures, so the sheet lands at exactly the size it had on screen — nothing to resize, nothing to guess.
Lamina can also wait in the menu bar and open on whichever desktop you are working on. ⇧⌘2 captures from anywhere, even when the window isn't showing. You can change that shortcut in Preferences (⌘,).

2. Work underneath it
⌘J and ⌘K take the opacity down and up in steps of 10 %. The scroll wheel does the same, continuously.
⌘L locks the sheet. It stays visible but stops catching the mouse — every click goes to the app underneath. This is what makes Lamina different from having a picture open next to your work.
⌘+ and ⌘− resize the sheet in steps of 10 %. ⌃⌘+ and ⌃⌘− resize it by a single pixel — this is the one for the final alignment. ⌘0 returns to the original size.
⌘T keeps Lamina above everything else.
3. Measure the difference

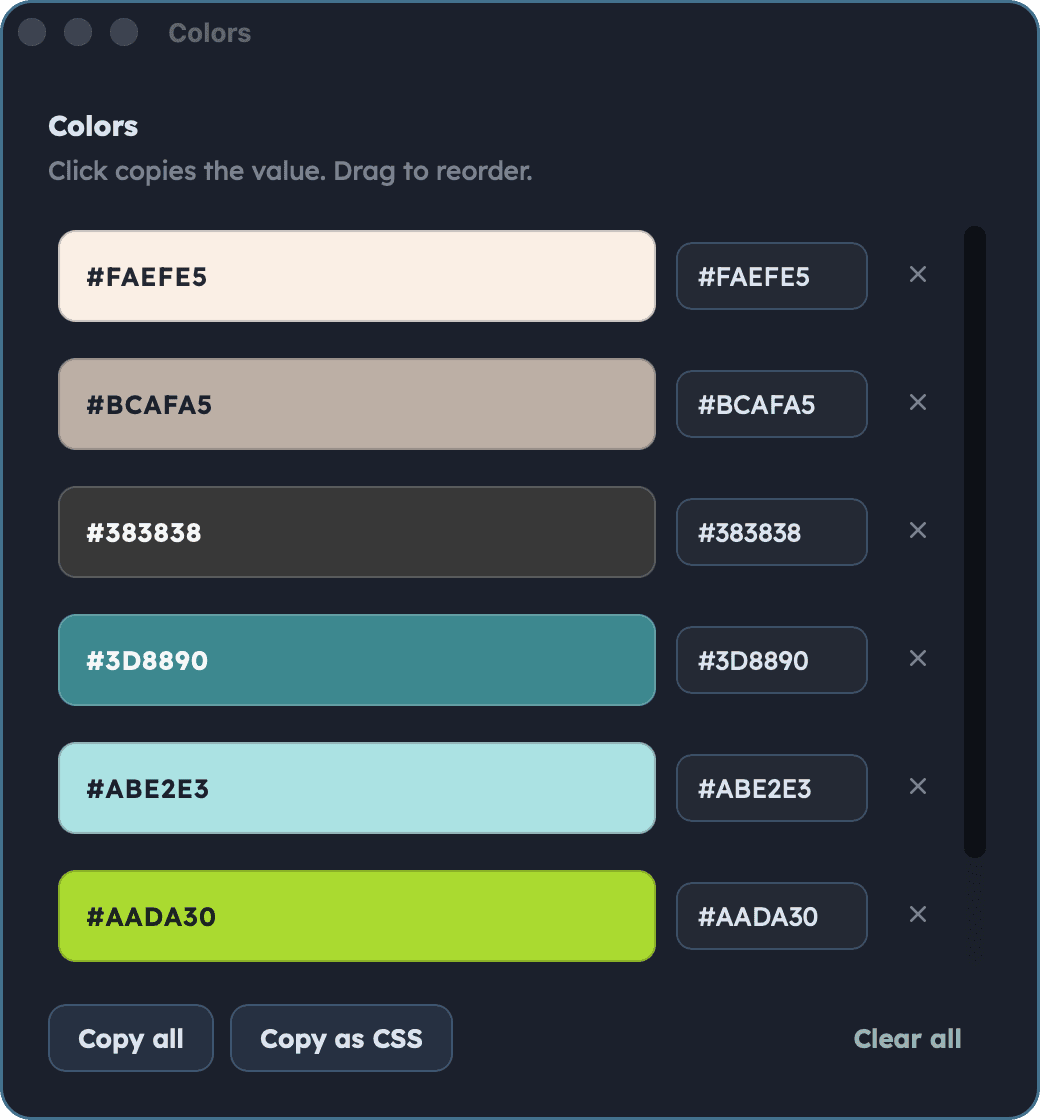
Color picker (I)
Part of Lamina Pro — unlocked for the first 14 days.

Shape tools (R)
Part of Lamina Pro — unlocked for the first 14 days.

Grid controls (G)
Part of Lamina Pro — unlocked for the first 14 days.

Annotation tools (E)
Part of Lamina Pro — unlocked for the first 14 days.

Numbering
Each click drops the next number. Delete one in the middle and the rest close the gap.
Text
Click to open a field, Enter finishes it. Double-click a note to open it again. Annotations sit on the same layer as your measurements, so undo, copy and the PNG export cover both.
Compare controls (D)
Part of Lamina Pro — unlocked for the first 14 days.

Save and open a Lamina document
Part of Lamina Pro. The free version opens a document and shows it, but the tools stay locked.
Keyboard shortcuts
Explanation
Key
Capture an area
S
Move: select and resize, no drawing
V
Color picker
I
Magnifier
Z
Measure
R
Annotate
E
Grid
G
Compare
D
Press the same key again, or Escape, to switch a tool off.
Sheet and window — everything on ⌘.
Explanation
Shortcut
Paste an image
⌘V
Lock, click through
⌘L
Keep on top
⌘T
Opacity down / up
⌘J / ⌘K
Resize by 10 %
⌘+ / ⌘−
Resize by one pixel
⌃⌘+ / ⌃⌘−
Original size
⌘0
Move the window by one point
Arrow keys
Export as PNG
⌘E
Save the document
⌘S
Save as …
⇧⌘S
Open a document
⌘O
Pick the color under the pointer
Tab
Start over
⌘N
Close the window, keep Lamina in the menu bar
⌘W
Preferences
⌘,
Capture from anywhere
⇧⌘2
While measuring
Explanation
Shortcut
Undo / redo a measurement
⌘Z / ⇧⌘Z
Copy / paste a shape
⌘C / ⇧⌘V
Delete the selected shape
Backspace
Nudge it by one pixel (⇧ = ten)
Arrow keys
Grid step finer / coarser, or gain in difference view
[ / ]
Questions people ask
Do I have to give Lamina permission to record my screen?
Only for capturing (S). macOS asks once and applies the permission after a restart, which Lamina offers to do for you. Dragging an image in needs no permission at all.
Does anything leave my Mac?
No. Images, measurements and annotations stay on your machine. There is no account and no sign-in. The only thing Lamina ever sends is your licence key when you activate it, together with the name of your Mac so you can tell your activations apart.
What happens after the 14 days?
Lamina keeps working. Overlaying, capturing, opacity, locking and moving stay free for good — no watermark, no time limit. Measuring, comparing, annotating and exporting are the paid part.
Can I use it on more than one Mac?
One purchase covers three of your own Macs. You can release a Mac from inside the app (Lamina › Licence …) if you replace one.
I closed the window and lost my measurements.
You didn't. Lamina keeps the last ten sessions, complete with measurements, annotations, guides, grid, colours and opacity — and it writes as you work, so quitting costs you nothing. File › Open Recent brings one back. You can switch that off, or clear it, in Preferences.
Lamina
Overlay, measure and compare on macOS
© 2026 by Vale Florea
Made with
in Switzerland